
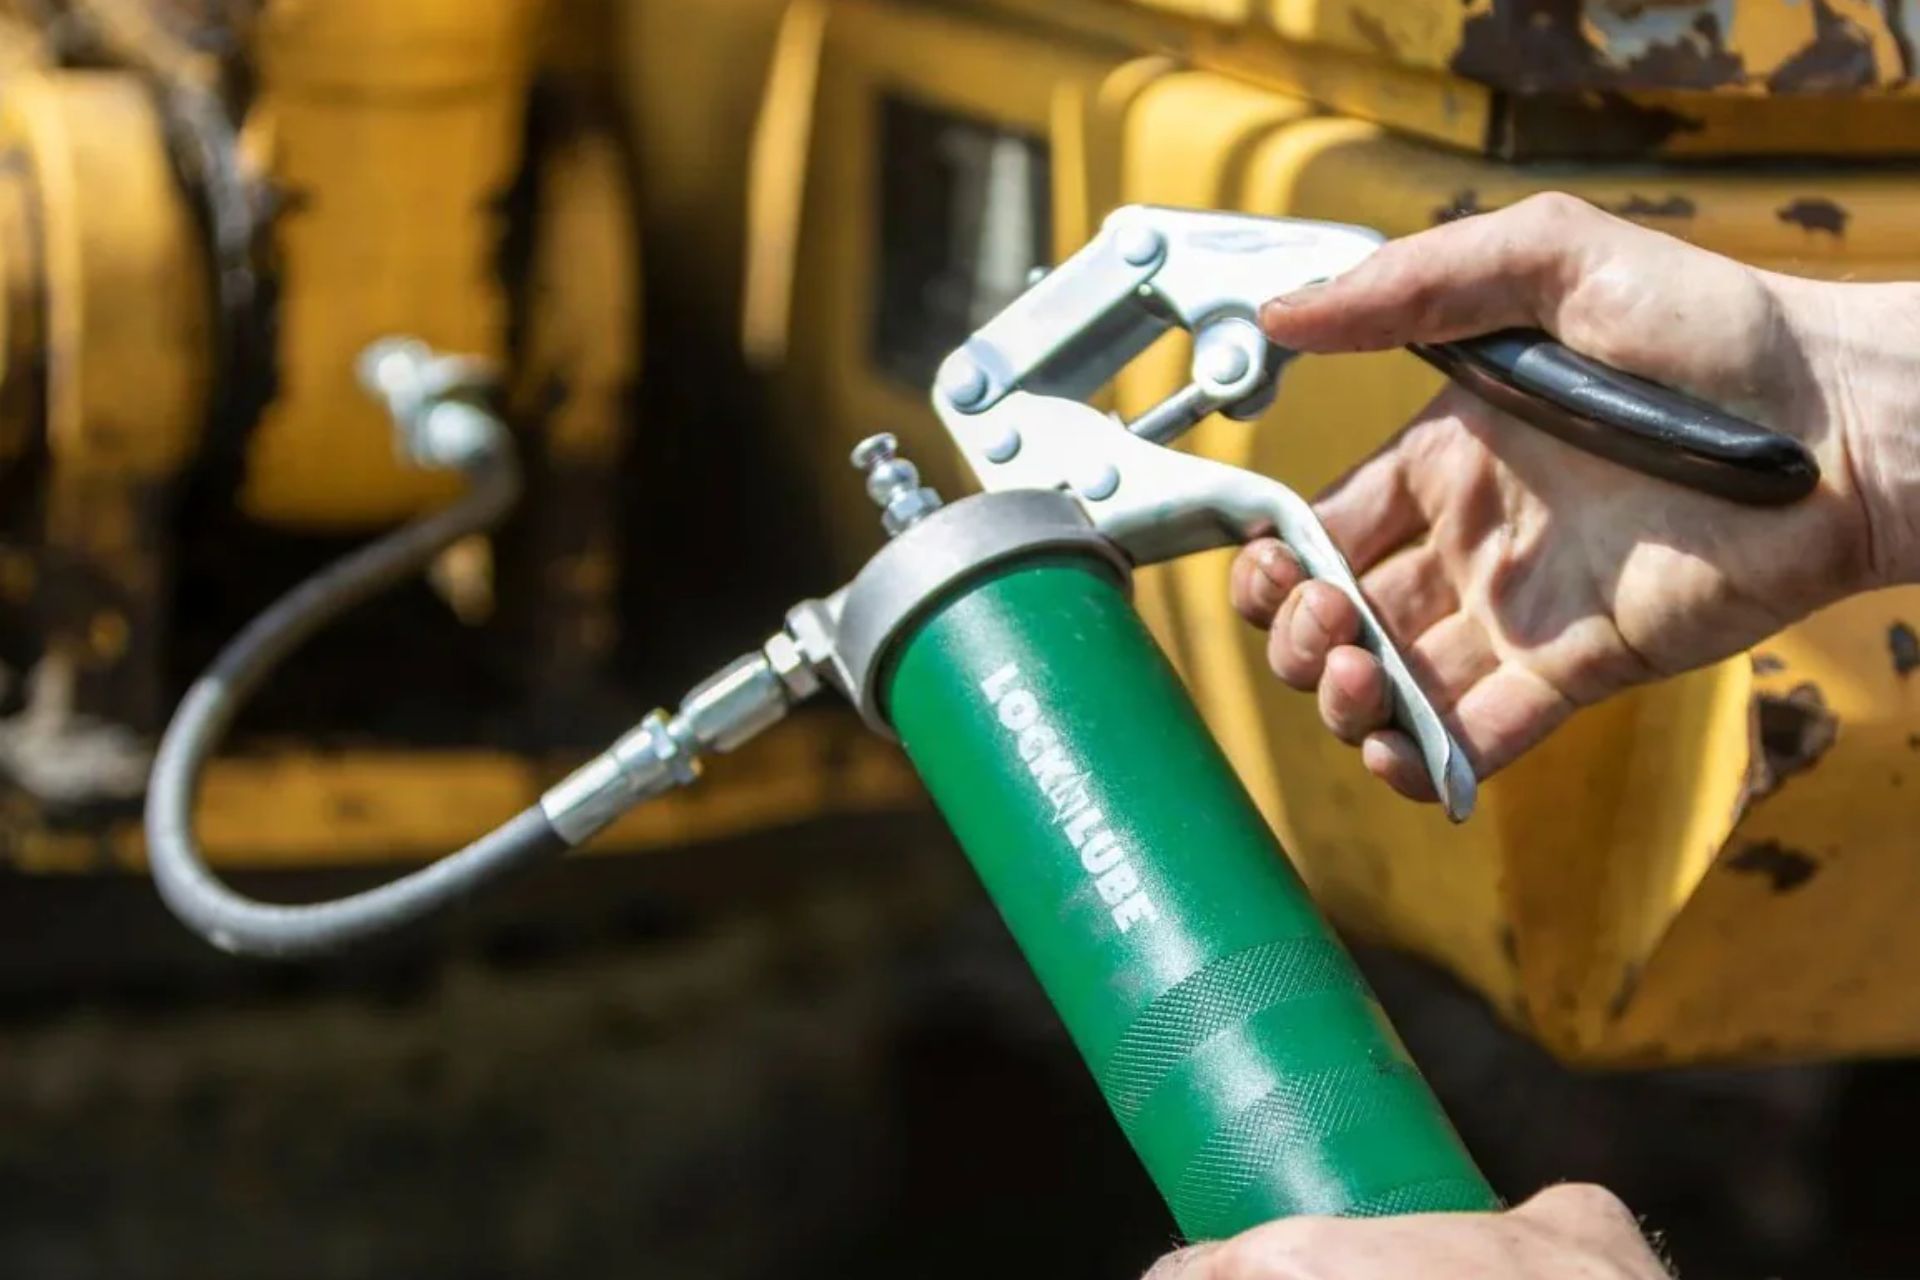
How To Clean A Grease Gun is an important maintenance skill for anyone who works with vehicles, agricultural machinery, construction equipment, industrial systems, or mechanical tools. A grease gun may look simple, but its internal passages, seals, valves, plunger, hose, and coupler all need to remain clean if the tool is expected to deliver lubricant consistently.
Every time a grease gun is used, it can collect dust, metal particles, old lubricant, moisture, and other contaminants. If these materials remain inside the tool, they can mix with fresh grease and eventually reach bearings, bushings, pins, joints, or other lubrication points. A neglected grease gun can also develop restricted flow, pressure problems, leaks, or a sticking mechanism.
Cleaning does not necessarily mean completely dismantling the entire tool after every application. The most useful approach is to combine quick cleaning after use with deeper maintenance when the gun is contaminated, clogged, stored for an extended period, or being changed from one type of grease to another. Manufacturer instructions should always take priority because construction and recommended cleaning products vary between manual, pneumatic, battery-powered, and lever-operated models.
This guide explains How To Clean A Grease Gun from preparation through inspection, drying, reassembly, testing, and long-term storage.
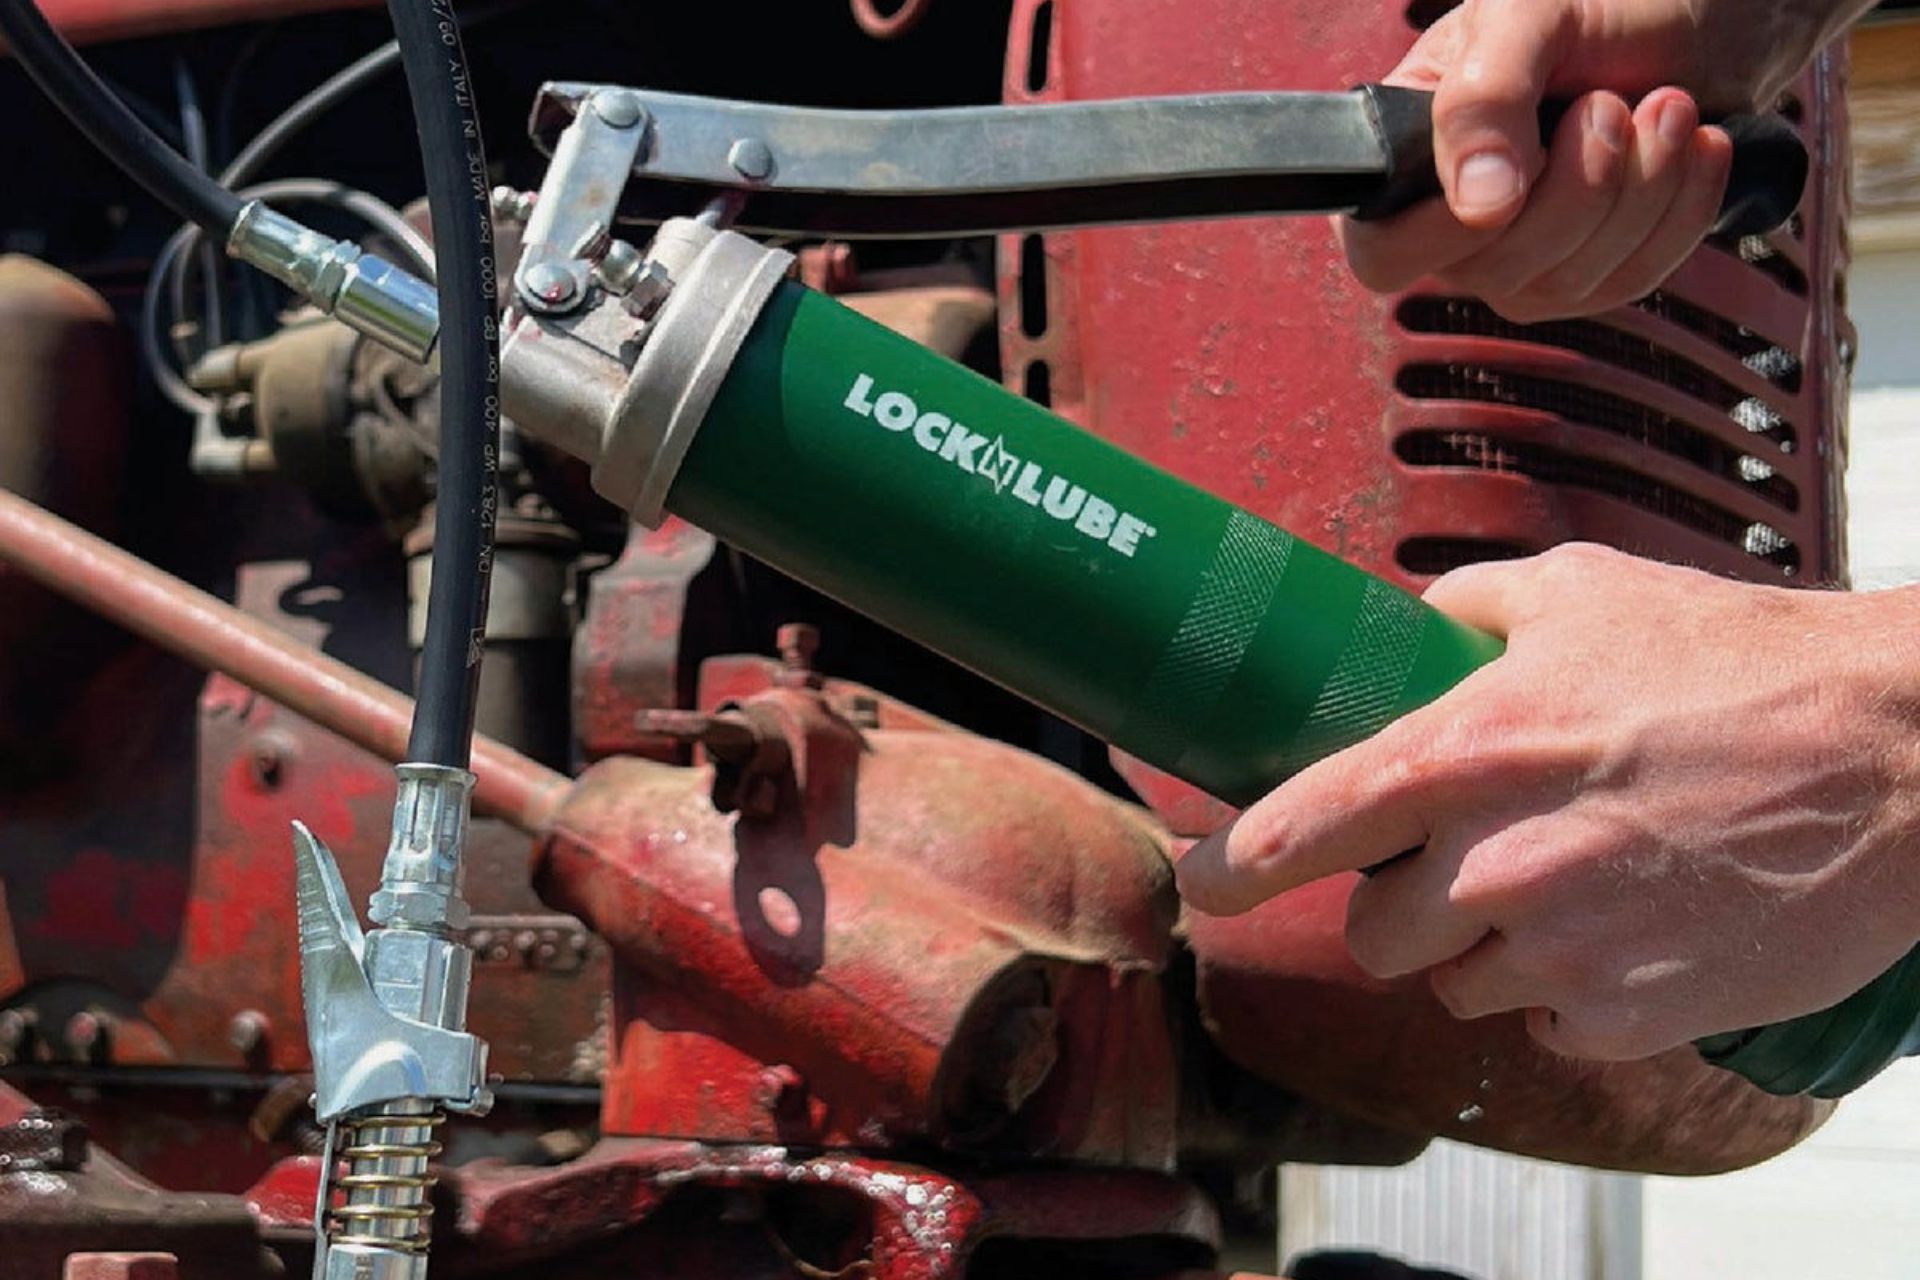
Why Does a Grease Gun Need Regular Cleaning?
A grease gun is designed to transfer lubricant under pressure. That means contamination inside the tool can affect more than its appearance.
Old grease can gradually become sticky or hardened, particularly around the pump head, outlet, coupler, and internal passages. Dirt can accumulate around threads and fittings, while damaged seals can allow lubricant to escape instead of being delivered to the intended lubrication point.
Regular cleaning helps address several common problems:
- Prevents old grease from mixing unnecessarily with fresh lubricant
- Reduces contamination entering machinery
- Helps maintain consistent grease flow
- Makes leaks and damaged components easier to identify
- Keeps fittings, hoses, and couplers easier to inspect
- Reduces buildup around moving components
- Makes the tool easier to operate
- Helps preserve the grease gun for longer-term use
Contamination is especially important when machinery requires a specific lubricant. Mixing incompatible greases can alter lubrication performance, while dirt introduced through a dirty tool may contribute to accelerated component wear. A clean grease gun therefore forms part of a broader lubrication-control process rather than being merely a workshop housekeeping task.
What You Need Before Cleaning a Grease Gun
Preparation makes the cleaning process faster and reduces the chance of losing small components.
Depending on the condition and construction of your grease gun, gather:
- Clean lint-free rags
- A small soft or medium-bristle brush
- A parts-cleaning brush
- An appropriate degreaser or manufacturer-approved solvent
- A small container for removable parts
- Nitrile or chemical-resistant gloves
- Safety glasses
- Paper towels or clean shop towels
- Fresh compatible grease
- A small pick or suitable cleaning tool for stubborn residue
- The manufacturer’s instruction manual
Do not automatically choose the strongest solvent available. Some chemicals can damage rubber seals, plastics, painted surfaces, or other materials used in a grease gun. A cleaning product should be compatible with the tool’s components.
When solvents are involved, work in a well-ventilated area and follow the product’s safety instructions. Keep ignition sources away from flammable cleaning products and dispose of contaminated rags and solvent according to applicable local requirements.
Before You Start: Relieve Pressure and Prepare the Tool
Safety should come before disassembly.
If the grease gun is pneumatic or battery powered, turn it off and disconnect the relevant power or air supply according to the manufacturer’s procedure. For a manual grease gun, make sure there is no pressure being generated by the handle or plunger.
If the gun is connected to a grease fitting, disconnect it carefully. Never begin pulling apart a pressurized system simply because you intend to clean it.
Next, move the tool to a clean workbench. A tray or piece of absorbent material underneath the gun can catch excess grease and prevent the workspace from becoming contaminated.
Before removing anything, take a quick look at the assembly. This is useful because small springs, seals, washers, and other components can be easy to misplace.
Step 1: Remove Remaining Grease
The first practical stage of How To Clean A Grease Gun is removing as much old grease as possible before applying a cleaning product.
If the grease gun uses a cartridge, follow the manufacturer’s instructions for removing the cartridge. If it is a bulk-fill model, remove the remaining grease from the barrel or reservoir as thoroughly as practical.
Do not scrape contaminated grease directly onto your work surface. Place waste material into a suitable container or disposable absorbent material.
Once the bulk of the lubricant has been removed, wipe the barrel, reservoir, and exterior with a clean rag. This initial wipe prevents large quantities of grease from contaminating your cleaning solvent.
Pay particular attention to:
- The barrel opening
- The pump head
- Threads
- Follower plate
- Plunger rod
- Handle area
- Hose connection
- Coupler
- Nozzle
The goal at this stage is not to make every component perfectly clean. It is to remove the heavy layer of lubricant before detailed cleaning begins.
Step 2: Separate the Components Carefully
A deep clean may require partial disassembly.
The exact procedure depends on the model. Some grease guns have relatively simple removable barrels, while others contain more complicated pump assemblies. Battery-powered and pneumatic models can also have additional components that should not be treated like parts from a basic manual gun.
Use the owner’s manual whenever possible.
As components are removed, arrange them in the order in which they came off the tool. Taking a photograph before disassembly can also provide a useful reference during reassembly.
Avoid forcing components apart. If something does not move as expected, stop and check the manufacturer’s instructions.
Small components deserve special attention because a missing spring, valve component, O-ring, or washer can prevent the grease gun from working correctly after cleaning.
Step 3: Clean the Barrel and Reservoir
The barrel or reservoir normally contains a significant amount of grease residue, making it one of the most important areas to clean.
Start with a dry or lightly dampened rag to remove loose residue. A suitable parts brush can then loosen grease around the walls, threads, and difficult-to-reach areas.
For stubborn buildup, apply a compatible cleaning solvent according to its instructions. Allowing a suitable cleaner to soften old grease can be more effective than aggressive scraping.
Do not use excessive force against the interior surface. Scratches or damaged surfaces can make future contamination easier to accumulate.
After cleaning, wipe the barrel until no visible old grease remains.
If a water-based cleaning method is approved for the component, rinse as directed. However, every part must be completely dried before fresh grease is introduced.
Moisture trapped inside the barrel can create corrosion and contaminate the new lubricant.
Step 4: Clean the Pump Head
The pump head deserves particular attention because it controls the movement of grease through the tool.
Old grease can remain around valves, passages, check mechanisms, threads, and seals. Use a brush and appropriate cleaning product to loosen residue without damaging precision surfaces.
Work slowly rather than trying to remove everything with one aggressive pass.
For narrow passages, use a tool specifically suitable for cleaning the opening. Avoid inserting sharp objects deeply into delicate valve seats or sealing surfaces.
A clean pump head should be free from visible hardened grease and foreign material.
However, visible cleanliness alone is not enough. Components should also be inspected for wear before the grease gun is reassembled.
Step 5: Clean the Plunger, Follower, and Rod
The plunger system transfers mechanical movement into pressure. Any buildup around these components can make operation rough or interfere with sealing.
Wipe the plunger and rod with a clean cloth. Use a brush where necessary to remove old grease.
Inspect the surfaces for:
- Scratches
- Corrosion
- Pitting
- Excessive wear
- Bent sections
- Hardened lubricant
- Damaged seals
The follower should also be checked for deformation or damage.
Do not automatically replace a component simply because it has some cosmetic discoloration. Instead, look for damage that could affect sealing, movement, pressure generation, or lubricant delivery.
Step 6: Pay Attention to O-Rings and Seals
Seals are small but important components in a grease gun.
During How To Clean A Grease Gun, do not treat O-rings as disposable cleaning debris. Remove them only when the manufacturer’s design allows it and when doing so is necessary.
Inspect rubber seals for:
- Cracks
- Cuts
- Flattening
- Brittleness
- Swelling
- Permanent deformation
A damaged seal can cause leakage or pressure loss.
Use only a lubricant or treatment compatible with the seal material. Strong solvents may affect certain rubber compounds and plastics, so never assume that a chemical safe for metal is automatically safe for every component in the grease gun.
If a seal looks damaged, replacing it may be more practical than attempting to restore it.
Step 7: Clean the Hose, Coupler, and Nozzle
The delivery end of a grease gun deserves just as much attention as the barrel.
The hose can collect grease and dirt around its exterior and connection points. Wipe it thoroughly and inspect it for cracks, abrasion, kinks, swelling, or other visible damage.
The coupler should also be cleaned carefully. Grease and dirt can accumulate around the gripping mechanism and opening.
A dirty or damaged coupler can make it difficult to attach securely to a grease fitting.
If the nozzle or coupler is blocked, use an appropriate cleaning method recommended for the component. Do not force an oversized wire or sharp object through a precision opening.
The objective is to restore an unobstructed path for grease without damaging the sealing surfaces.
Step 8: Remove Hardened Grease Without Damaging Parts
Hardened grease can be one of the most frustrating parts of cleaning.
Instead of immediately scraping aggressively, first determine whether the residue can be softened using a compatible degreaser or solvent.
Once the buildup becomes softer, use a brush, cloth, or appropriate plastic cleaning tool to remove it.
Avoid damaging:
- Threads
- Valve seats
- Rubber seals
- Plastic components
- Precision mating surfaces
- Small openings
For particularly stubborn deposits, repeated short cleaning cycles are often safer than one aggressive attempt.
If a component remains blocked after reasonable cleaning, inspect it for mechanical damage rather than assuming more solvent will solve the problem.
Step 9: Dry Every Component Completely
Drying is one of the easiest steps to overlook.
After cleaning, use lint-free cloths to remove moisture and solvent residue. Leave suitable components in a clean, ventilated area until they are completely dry.
Do not immediately pack a damp grease gun away.
Moisture can contribute to corrosion, particularly on steel components, and residual cleaning chemicals can contaminate fresh lubricant.
Compressed air should only be used when appropriate for the particular tool and component and when the manufacturer’s instructions permit it. Never direct high-pressure air toward your skin, eyes, seals, or delicate components.
The goal is simple: every part that will come into contact with fresh grease should be clean and dry.
Step 10: Inspect Everything Before Reassembly
Cleaning provides an excellent opportunity to perform a basic condition assessment.
Look at the complete tool rather than focusing only on visible grease.
Check:
| Component | What to Inspect |
|---|---|
| Barrel | Dents, corrosion, damaged threads |
| Plunger | Wear, scratches, movement |
| Follower | Deformation, cracks, seal condition |
| Spring | Corrosion, distortion, breakage |
| O-rings | Cuts, hardening, flattening |
| Pump head | Contamination, damaged parts |
| Hose | Cracks, abrasion, leaks |
| Coupler | Wear, blockage, damaged jaws |
| Fittings | Damaged threads or corrosion |
| Handle | Loose or damaged components |
If a component is visibly damaged, cleaning alone will not restore it.
This inspection stage can also help explain why a grease gun was previously leaking, losing pressure, or delivering lubricant inconsistently.
Step 11: Reassemble the Grease Gun
Once every component is clean, dry, and inspected, begin reassembly.
Follow the manufacturer’s sequence rather than relying solely on memory.
Install seals and small components carefully. A twisted or incorrectly seated O-ring may leak even if the component itself is new.
Threads should engage smoothly. If a threaded component does not start correctly, remove it and try again rather than forcing it.
Where the manufacturer specifies a torque value, use the recommended specification.
Before loading fresh grease, confirm that the pump mechanism moves normally.
The finished assembly should feel secure without unnecessary force or binding.
Step 12: Add Fresh, Compatible Grease
Once the tool is ready, load it with fresh grease that matches the machinery’s lubrication requirements.
This is especially important if the cleaning process was performed because you are changing grease types.
Never assume that every grease is interchangeable. Different formulations can have different thickener systems, base oils, additives, and performance characteristics.
If your equipment manufacturer specifies a particular lubricant, follow that specification.
After loading, purge trapped air according to the grease gun manufacturer’s instructions. Air pockets can cause inconsistent grease delivery and may make the tool appear to be malfunctioning.
Step 13: Test the Grease Gun Before Returning It to Service
A clean grease gun should be tested before being used on valuable machinery.
Operate the gun according to its normal procedure.
Look for:
- Smooth handle or trigger movement
- Consistent grease delivery
- No visible leaks
- Secure hose connections
- Proper coupler operation
- Normal pressure behavior
- No unusual noises
If grease does not flow, do not immediately assume that the pump is broken. Air trapped in the system, a blocked passage, an improperly seated component, or a damaged seal can all affect performance.
A controlled test allows you to identify these issues before connecting the tool to a critical machine.
How Often Should You Clean a Grease Gun?
There is no universal cleaning interval that applies to every grease gun.
Frequency depends on:
- How often the tool is used
- Where it is used
- The type of machinery being lubricated
- Exposure to dust and moisture
- Type of grease
- Whether different greases are used
- Storage conditions
- Manufacturer recommendations
A grease gun used every day in a dusty industrial environment may require considerably more attention than a tool used occasionally in a clean workshop.
A practical maintenance approach is to wipe the gun after routine use and perform deeper cleaning whenever contamination becomes visible, grease is changed, flow becomes inconsistent, or the tool is going into long-term storage.
Manufacturer maintenance schedules should take precedence over generic intervals. Some professional grease gun manuals specifically recommend inspection before use and cleaning as part of routine maintenance.
What Should You Do When Switching Grease Types?
Changing lubricant can be a good reason for a thorough grease gun cleaning.
Residual grease inside the barrel, pump, hose, and coupler may mix with the new product. Depending on the formulations involved, this can create compatibility concerns.
A careful changeover involves:
- Removing the old grease.
- Cleaning accessible internal surfaces.
- Cleaning the pump path.
- Cleaning the coupler and hose.
- Drying components completely.
- Loading the new compatible grease.
- Purging the system before application.
This approach minimizes unnecessary cross-contamination.
For critical industrial applications, always follow the lubrication program established for the machinery rather than relying on general cleaning advice.
Common Mistakes When Cleaning a Grease Gun
Knowing what not to do can be just as valuable as knowing the cleaning procedure.
Using an Incompatible Solvent
A powerful solvent may remove grease quickly but can damage seals, plastics, coatings, or other components.
Leaving Cleaning Residue Behind
Solvent residue can contaminate fresh grease. Components should be properly wiped, rinsed where appropriate, and dried.
Ignoring the Coupler
A grease gun can have a clean barrel but still suffer from a dirty or damaged coupler.
Mixing Old and New Grease Carelessly
If the lubricant type is being changed, leaving substantial old grease inside the tool can undermine the purpose of the changeover.
Reassembling Without Inspection
Cleaning is an opportunity to identify worn seals, damaged hoses, corrosion, and other problems.
Using Excessive Force
Forcing a stuck component can create more damage than the original contamination.
Storing the Tool While Wet
Moisture can promote corrosion and contaminate future lubricant applications.
How To Keep a Grease Gun Cleaner Between Uses
Deep cleaning becomes easier when contamination is controlled from the beginning.
After each use, consider these habits:
- Wipe excess grease from the nozzle.
- Keep the coupler covered or protected.
- Clean dirt from the exterior.
- Keep the grease cartridge area sealed.
- Avoid placing the tool directly on dirty floors.
- Store it in a clean, dry location.
- Keep different lubricant types clearly identified.
- Inspect the hose periodically.
- Replace damaged seals promptly.
- Prevent water from entering the tool.
The simplest maintenance habit is often the most effective: clean visible contamination before it has time to accumulate.
Manual, Pneumatic, and Battery-Powered Grease Guns
The basic cleaning principles apply across grease gun designs, but the details can differ.
Manual Grease Guns
Manual models are generally straightforward to maintain because they contain fewer powered components. Cleaning typically focuses on the barrel, follower, pump head, plunger, hose, and coupler.
Pneumatic Grease Guns
Pneumatic models require additional attention to the air supply and manufacturer’s instructions. Disconnect the air source before maintenance and avoid allowing cleaning fluids to enter components that are not designed for them.
Battery-Powered Grease Guns
Battery-powered models require particular care around electrical and electronic components. Remove or isolate the battery as specified by the manufacturer before cleaning. Do not introduce solvent or water into electrical sections.
The cleaning method should therefore be adapted to the exact grease gun rather than treating every model identically.
Troubleshooting After Cleaning
Sometimes a grease gun may still behave unexpectedly after maintenance.
Grease Will Not Come Out
Possible causes include:
- Air trapped in the system
- Blocked nozzle
- Incorrect assembly
- Hardened grease
- Damaged seal
- Empty or incorrectly installed cartridge
- Internal pump problem
Follow the manufacturer’s priming and troubleshooting procedure before attempting deeper disassembly.
The Gun Leaks
Check connections, seals, hose condition, and fittings. A leak may indicate a damaged O-ring or an improperly seated component.
The Handle Feels Stiff
Old residue may remain around moving components, or a component may have been assembled incorrectly. Inspect the mechanism and compare it with the manufacturer’s instructions.
Grease Comes Out Inconsistently
Air pockets, contamination, restrictions, or incorrect loading can contribute to inconsistent delivery. Purging air and checking the grease path are logical first steps.
A Simple Maintenance Schedule
For workshops managing several tools, a basic maintenance schedule can help prevent neglected equipment.
| Maintenance Task | Suggested Timing |
|---|---|
| Wipe exterior | After use |
| Clean coupler | Regularly and when contaminated |
| Inspect hose | Before use |
| Check seals | During routine inspection |
| Remove heavy buildup | When necessary |
| Deep clean | Based on usage and contamination |
| Clean during grease change | Every relevant changeover |
| Inspect before long-term storage | Before storage |
| Functional test | After deep cleaning |
These are general practices rather than universal manufacturer intervals. Always use the service recommendations supplied with the specific grease gun.
Frequently Asked Questions About How To Clean A Grease Gun
Can I wash a grease gun with water?
Water may be suitable for certain removable components when the manufacturer permits it, but water should not automatically be used throughout the tool. Any component exposed to water must be thoroughly dried, and sensitive parts may require a different cleaning method.
What is the best solvent for cleaning a grease gun?
There is no single solvent that is ideal for every grease gun. The correct choice depends on the materials and manufacturer’s recommendations. A compatible degreaser or solvent designed for the relevant components is preferable to an unnecessarily aggressive chemical.
Should I clean a grease gun every time I use it?
A complete teardown is usually unnecessary after every normal application. However, wiping off excess grease and contamination after use is a useful routine. Deeper cleaning should be performed according to usage, contamination, lubricant changes, and manufacturer guidance.
How do I clean hardened grease?
Start by softening the buildup with a compatible cleaner. Then use a suitable brush or cleaning tool to remove the loosened residue. Avoid aggressive scraping that could damage seals, threads, or precision surfaces.
Can I use the same grease gun for different types of grease?
It depends on grease compatibility and the requirements of the machinery. If changing lubricant types, thoroughly cleaning the grease gun can help minimize cross-contamination. For critical applications, follow the equipment manufacturer’s lubrication specifications.
Why does my grease gun still not work after cleaning?
Cleaning does not automatically resolve mechanical problems. The tool may have trapped air, a damaged seal, a blocked passage, a faulty valve, an improperly installed component, or another mechanical issue.
Should I replace the O-rings when cleaning?
Not necessarily. Inspect them first. Replacement is appropriate when an O-ring is cracked, hardened, cut, swollen, flattened, or otherwise unable to provide a reliable seal.
How should I store a cleaned grease gun?
Store it clean and completely dry in a protected environment. Keep the delivery end protected from dirt and moisture, and follow the manufacturer’s recommendations for long-term storage.
Final Checklist for Cleaning a Grease Gun
Before putting the tool back into service, confirm that:
- Old grease has been removed.
- The barrel or reservoir is clean.
- The pump head is free of significant contamination.
- The plunger and follower have been inspected.
- O-rings and seals are in usable condition.
- The hose has no obvious damage.
- The coupler is clean and functional.
- All cleaned parts are dry.
- Components have been reassembled correctly.
- Fresh compatible grease has been loaded.
- Air has been purged if required.
- The gun has been function-tested.
- The tool is ready for clean storage or lubrication work.
Conclusion
Knowing How To Clean A Grease Gun can make routine lubrication work safer, cleaner, and more consistent. The process is not simply about wiping grease from the outside of the tool. Effective maintenance involves removing old lubricant, cleaning critical components, protecting seals, checking the hose and coupler, eliminating contamination, drying the parts, and verifying proper operation before returning the tool to service.
The most important principle is to match the cleaning procedure to the specific grease gun. Manual, pneumatic, and battery-powered models can have different maintenance requirements, so the manufacturer’s instructions should remain the primary reference.
Regular exterior cleaning can reduce buildup, while occasional deeper maintenance can address contamination, lubricant changes, clogged passages, and developing mechanical problems. A clean tool also provides a better opportunity to identify worn seals, damaged hoses, corrosion, and other issues before they affect lubrication work.
Ultimately, How To Clean A Grease Gun is best approached as part of a complete lubrication-maintenance routine. When the tool is kept clean, dry, correctly assembled, and loaded with the appropriate grease, it is better positioned to deliver reliable lubrication and support the machinery it serves.