
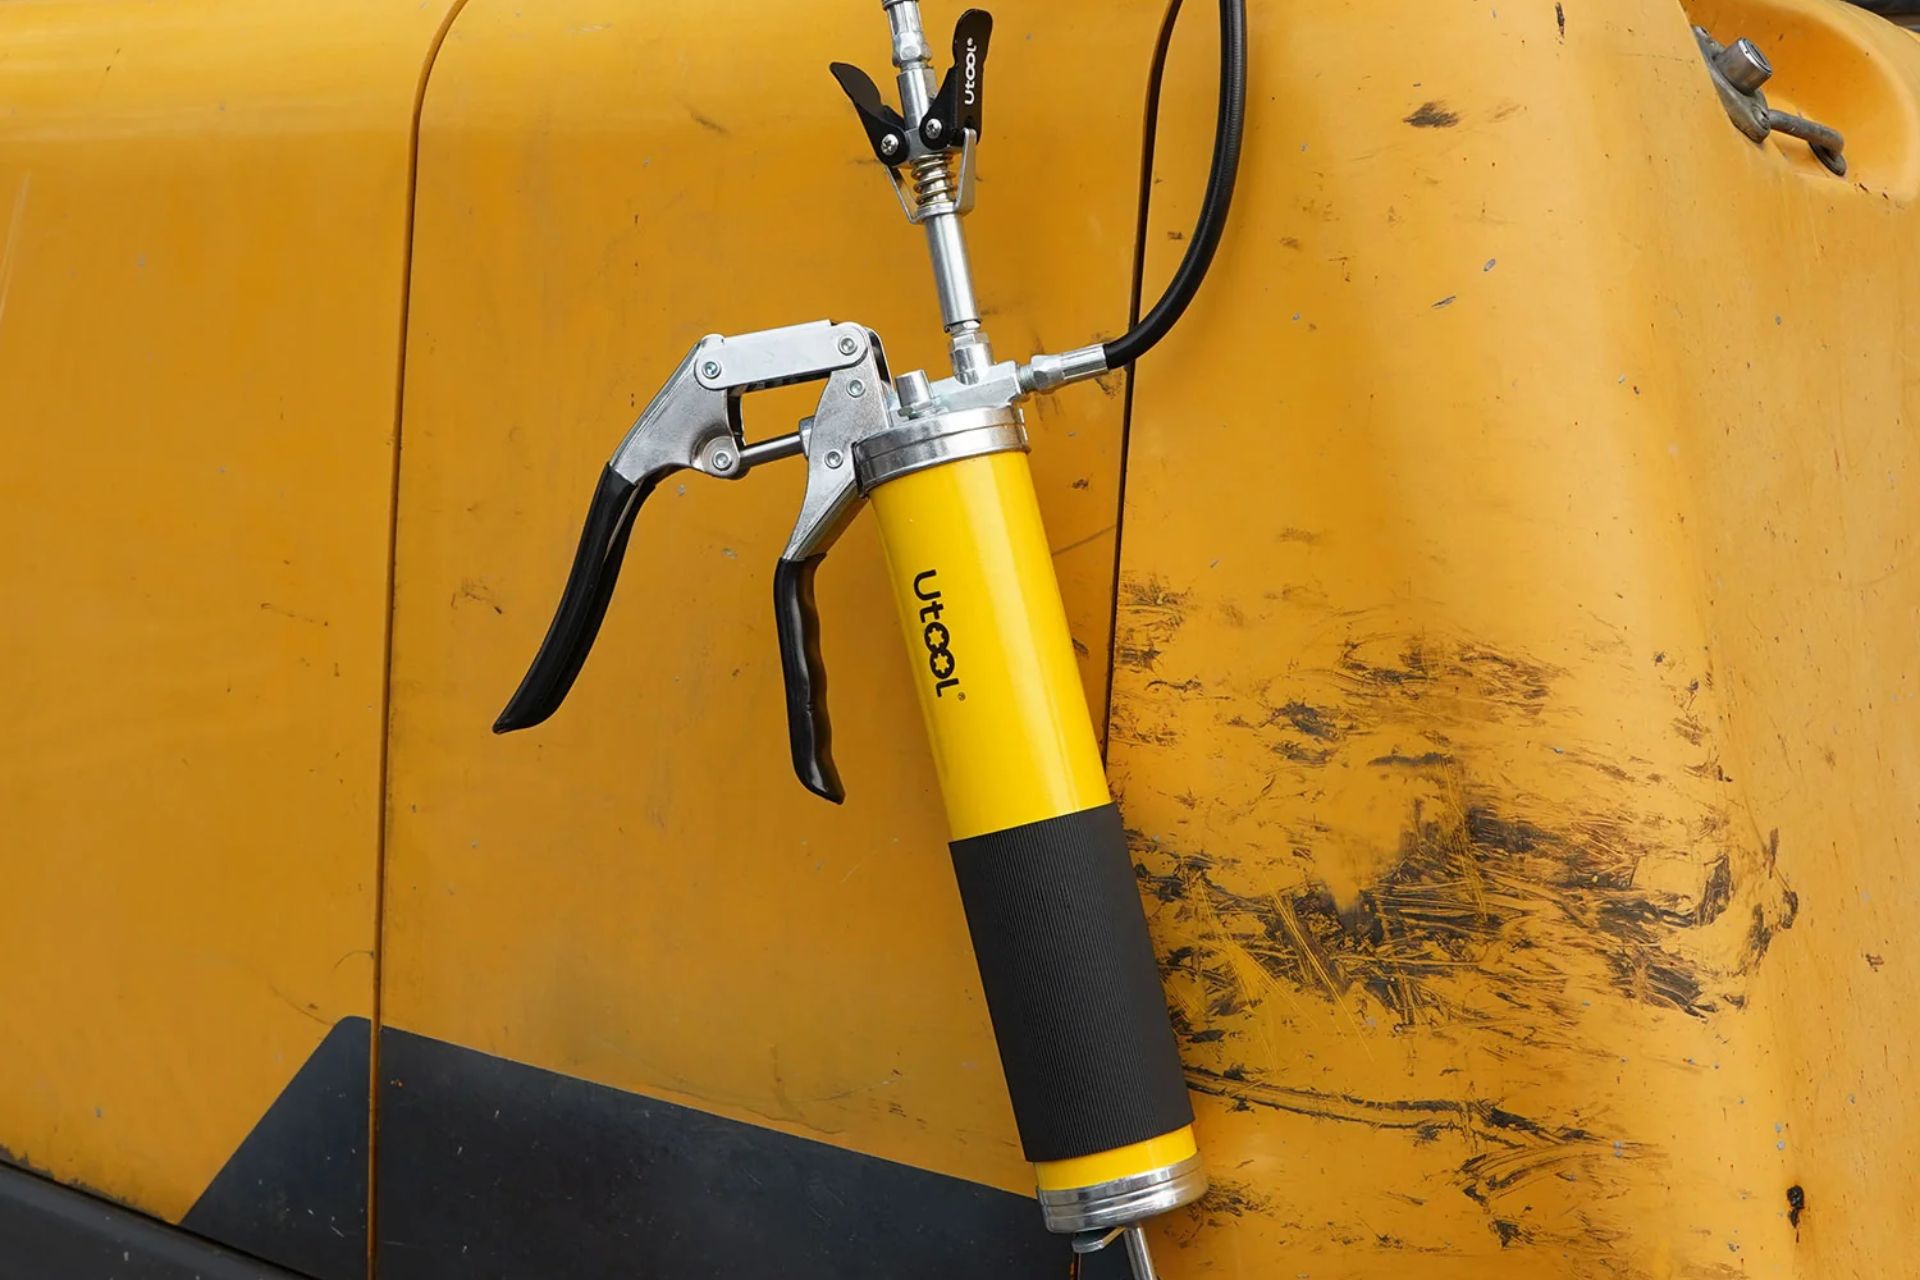
Why Does My Grease Gun Leak is a common question among mechanics, equipment owners, technicians, and anyone who regularly lubricates machinery. A grease gun is designed to deliver lubricant under considerable pressure, so even a small problem with a seal, hose, fitting, coupler, or internal component can cause grease to escape where it should not.
A leaking grease gun is more than an inconvenience. Grease around the handle, barrel, hose, or coupler can indicate pressure loss, damaged components, incorrect grease, or an improperly assembled connection. If the leak is ignored, the tool may become increasingly difficult to use and may fail to deliver the correct amount of lubricant to the machine.
The good news is that many grease gun leaks can be diagnosed without replacing the entire tool. The key is to identify where the grease is escaping, determine what is causing the pressure loss, and then select the appropriate repair. This guide explains the most common causes, diagnostic techniques, repair options, and maintenance practices that can help keep a grease gun working reliably.
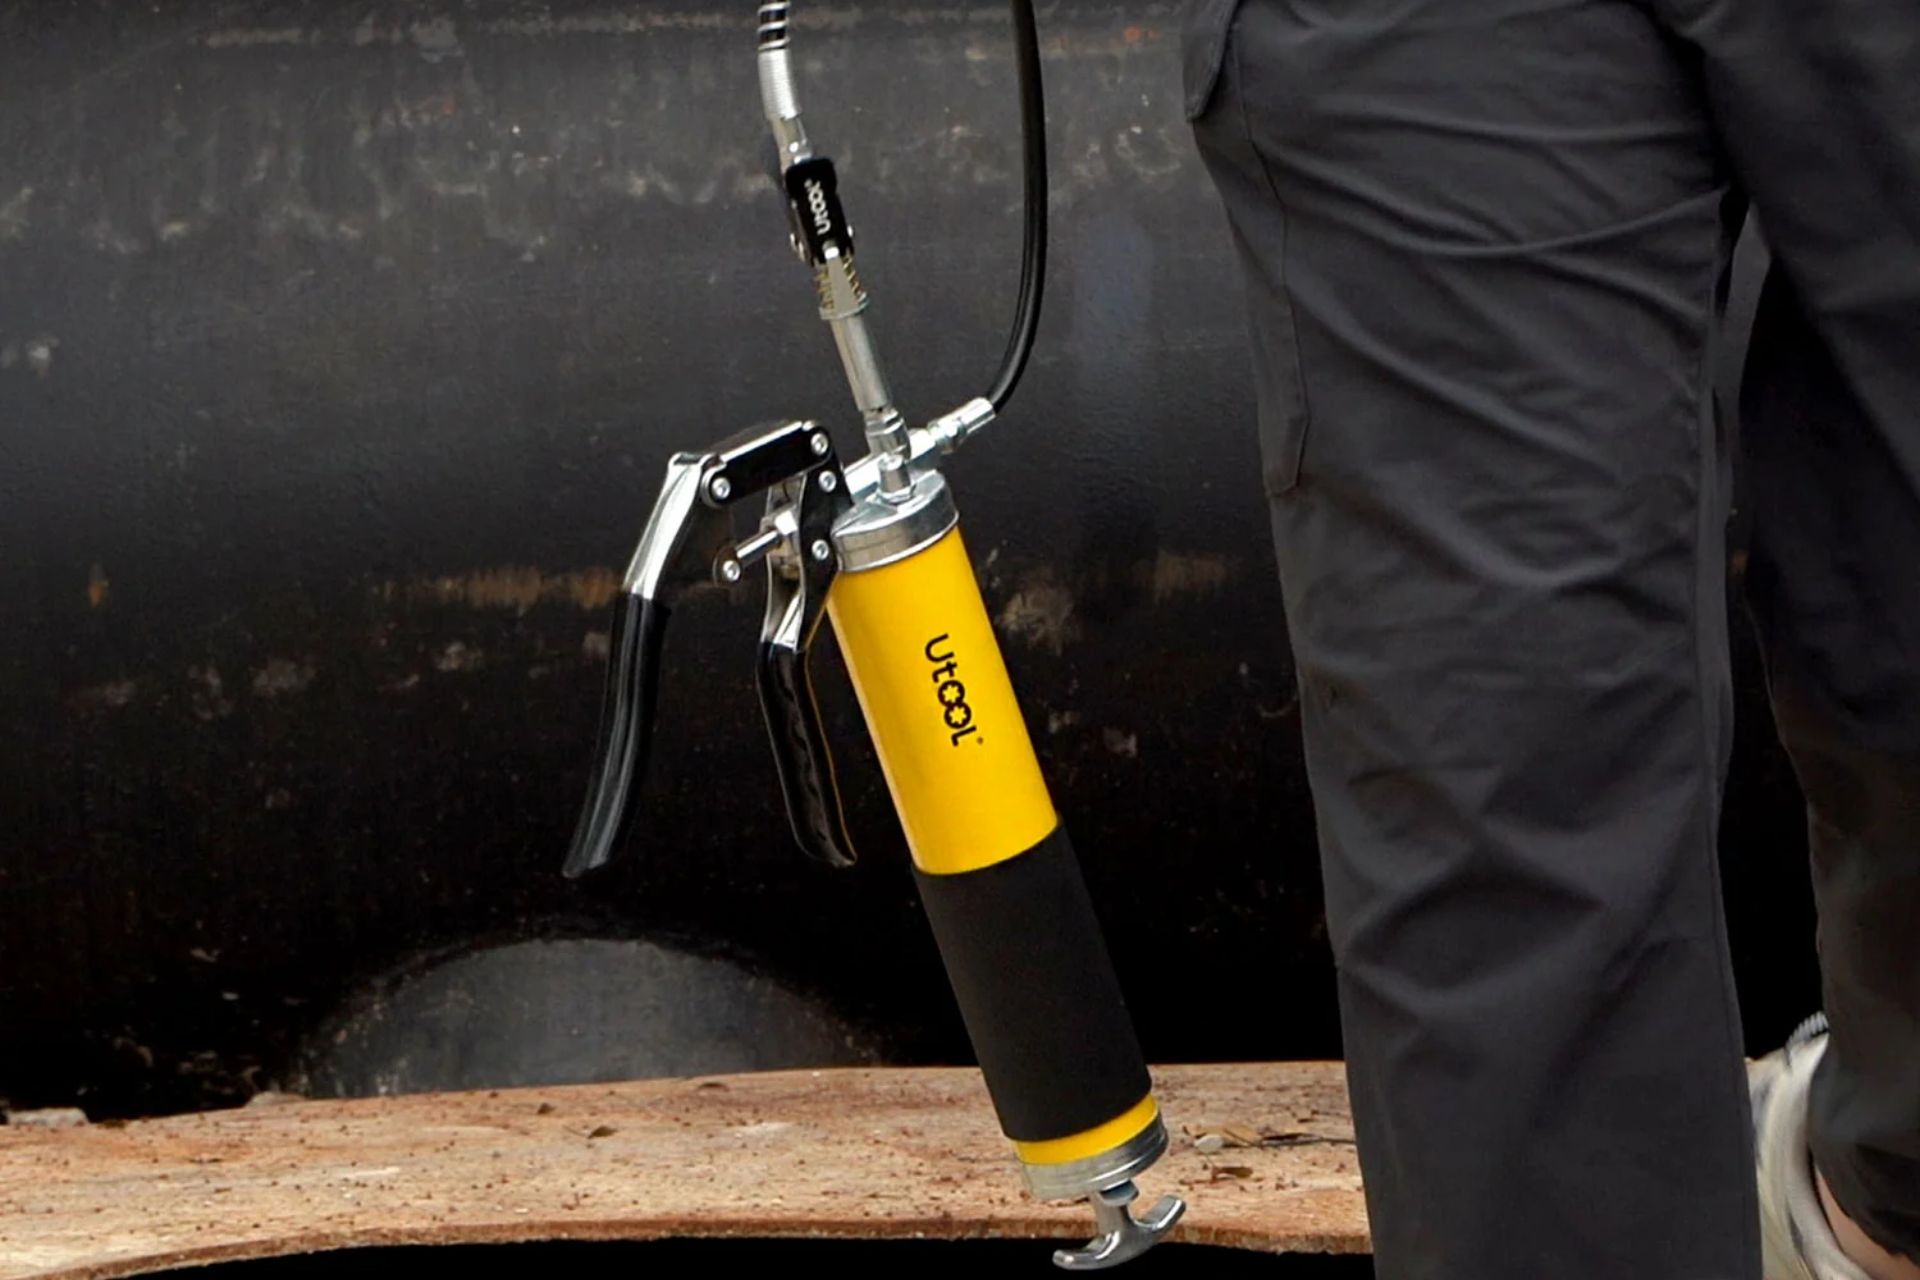
Why Does My Grease Gun Leak? Start by Finding the Leak
Before taking anything apart, determine exactly where the grease is coming from. The location of the leak provides one of the strongest clues about the underlying problem.
Clean the outside of the grease gun with an appropriate cloth, removing old lubricant from the barrel, head, hose connections, coupler, and plunger area. Then operate the tool slowly and watch for fresh grease.
Typical leak locations include:
- Around the plunger rod
- Between the barrel and pump head
- At the hose connection
- Around the rigid extension tube
- From the coupler
- Between the coupler and grease fitting
- From a cracked or damaged hose
- Around a valve or pressure-relief component
A manufacturer troubleshooting guide similarly recommends inspecting the tool for damaged parts and leaking connections before use.
The most important distinction is whether the leak occurs inside the gun, at a connection, or at the application point. Each situation requires a different approach.
Worn or Damaged Plunger Seals
One of the most common explanations for a grease gun leaking from the rear is a damaged follower or plunger seal.
Inside the barrel, the follower helps move grease toward the pump mechanism. During operation, pressure is created as the plunger pushes lubricant through the outlet. If the rubber follower becomes torn, hardened, distorted, or otherwise damaged, grease can travel around the plunger rather than remaining in the intended flow path.
You may notice:
- Grease appearing around the plunger rod
- Grease leaking from the rear of the barrel
- Reduced pumping efficiency
- Difficulty maintaining pressure
- Grease accumulating behind the follower
- An unusually messy plunger rod
Manufacturer troubleshooting information identifies a damaged rubber follower as a cause of grease leaking around the rear plunger area.
The appropriate repair depends on the model. Some grease guns have replaceable follower or seal components, while others are designed to have the entire assembly replaced.
Do not continue operating a tool with a visibly damaged internal seal simply because it still produces some grease. Continued use can make the problem worse and reduce the gun’s ability to generate consistent pressure.
Loose Barrel or Head Connections
Another common reason for leakage is a loose connection between the grease gun barrel and its pump head.
The barrel and head must form a secure pressure-resistant connection. If the threads are not properly engaged, grease can escape through the joint whenever pressure rises.
This can happen after:
- Loading a new cartridge
- Cleaning the grease gun
- Removing the pump head
- Reassembling the tool
- Repeated vibration during heavy-duty work
- Cross-threading during installation
Inspect the threaded connection for grease buildup, damaged threads, cracks, or visible gaps.
If the connection is simply loose, carefully tighten it according to the manufacturer’s instructions. Avoid excessive force. Over-tightening can damage threads or deform sealing surfaces, potentially creating a new leak.
If grease continues to escape after correct tightening, the problem may involve a damaged gasket, O-ring, thread, or mating surface.
A Damaged Grease Gun Hose Can Cause Leakage
Flexible hoses make grease guns easier to use because they allow access to difficult lubrication points. However, the hose is also exposed to bending, twisting, abrasion, pressure, and repeated movement.
Inspect the entire hose rather than checking only its ends.
Look for:
- Cracks
- Cuts
- Bulges
- Abrasion
- Kinks
- Flattened sections
- Hardened rubber
- Grease appearing through the hose wall
- Damaged end fittings
A hose that has been compromised should generally be replaced rather than patched. High-pressure lubricant escaping through a damaged hose can create a messy and potentially hazardous situation. Current grease-gun guidance also identifies cracked or damaged flexible hoses as a major maintenance concern.
If the hose itself looks healthy but grease leaks where it connects to the gun or coupler, inspect the threaded connection and its sealing arrangement.
Why Does My Grease Gun Leak Around the Coupler?
If grease comes out around the coupler, the coupler itself deserves close attention.
The coupler is responsible for connecting the grease gun to the grease fitting, often called a Zerk fitting. Its internal gripping mechanism needs to hold securely while grease is forced through the fitting under pressure.
A worn coupler may:
- Leak grease around its jaws
- Fail to lock securely
- Disconnect under pressure
- Require excessive force to attach
- Become difficult to release
- Produce grease around the connection rather than through the fitting
Repeated use gradually wears the internal jaws and sealing components. Dirt and hardened grease can also interfere with proper engagement.
If the coupler is visibly worn or damaged, replacement is usually more practical than attempting to rebuild a small internal mechanism. Troubleshooting references likewise identify damaged couplers as a common source of leakage around the grease nipple.
Damaged or Blocked Grease Fittings Can Create Pressure Problems
Sometimes the grease gun is not actually the source of the problem.
A blocked grease fitting can prevent lubricant from entering the machinery. As the operator continues pumping, pressure rises because the grease has nowhere to go. That excessive resistance may cause grease to escape around the coupler or another weak point.
A grease fitting can become blocked because of:
- Hardened grease
- Dirt
- Rust
- Paint
- Corrosion
- Contamination
- Mechanical damage
If the gun appears to operate normally when disconnected from the machine but leaks or struggles when connected to one particular fitting, investigate the fitting and lubrication passage.
Do not automatically assume that increasing pumping force will solve the problem. Excessive pressure can damage seals or other components.
The Grease May Be Too Thin
The lubricant itself can contribute to leakage.
Grease is available in different consistency grades, commonly identified by NLGI classification. A lubricant that is significantly thinner than the grease gun or application requires may move more easily through small clearances and seals.
Thin grease can be particularly noticeable when it appears around the rear plunger area.
Temperature can also change how grease behaves. Heat can make grease flow more readily, while cold conditions can make it substantially more resistant to pumping. Manufacturer troubleshooting documentation lists thin grease as one possible reason for rear leakage.
Always select lubricant according to the machinery manufacturer’s specification and the grease gun manufacturer’s recommendations. Do not change grease simply to stop a leak without determining whether the lubricant is appropriate for the equipment.
Temperature Can Change Grease Behavior
Temperature is an often-overlooked factor in grease gun performance.
When grease becomes warm, its resistance to movement can decrease. If the lubricant becomes excessively fluid, it may migrate through areas that normally contain it.
Cold temperatures create the opposite problem. Grease becomes harder to move, increasing pumping resistance. This can make a healthy grease gun appear faulty and can increase stress on seals, fittings, and connections.
If a leak occurs only when the equipment or lubricant becomes unusually hot, record the conditions. Likewise, if pumping becomes difficult during winter, consider whether the selected grease is suitable for the operating temperature.
Grease should be stored according to its product requirements and protected from extreme environmental conditions.
Overfilling the Grease Gun
Too much grease can also cause problems.
When a barrel is excessively filled, there may not be enough room for the follower and lubricant to move normally. Increased internal pressure or poor follower movement can lead to grease escaping from unintended locations.
Overfilling may occur when:
- The cartridge is installed incorrectly.
- Bulk grease is packed into the barrel excessively.
- The follower is not positioned correctly.
- Additional grease is added before the existing lubricant is properly assessed.
- The operator assumes that a completely full barrel always provides better performance.
Follow the capacity and loading procedure specified for the particular grease gun. Proper loading helps the follower move smoothly and reduces the likelihood of trapped air and abnormal pressure.
Air Trapped Inside the Grease Gun
An air pocket can produce symptoms that look like a mechanical failure.
Air may enter the system during cartridge replacement, bulk loading, or incorrect follower positioning. Because air compresses much more readily than grease, the pump may feel spongy or behave inconsistently.
Typical symptoms include:
- The handle moves unusually easily.
- Grease delivery is intermittent.
- Pressure builds and disappears.
- The gun seems unable to prime.
- Pumping produces bubbles or inconsistent output.
Air-lock troubleshooting commonly involves following the manufacturer’s priming procedure, which may include using a bleeder valve or carefully loosening the head to release trapped air. Manufacturer instructions specifically identify trapped air as a cause of poor grease delivery.
Always follow the instructions for your specific model because grease guns differ in construction.
Check the Internal Check Valve
A check valve controls lubricant movement through the pumping mechanism. If it becomes contaminated, damaged, or unable to seat correctly, pressure may not be maintained.
A faulty check valve can cause:
- Weak grease output
- Backflow
- Intermittent pumping
- Pressure loss
- Grease appearing in unexpected areas
Contamination is a particularly important concern. Small particles of dirt or hardened grease can interfere with the valve’s movement.
If your grease gun has a serviceable check valve, consult its manual before attempting disassembly. Some models are designed for maintenance, while others should be serviced or replaced rather than opened by the user.
Thread Damage Can Be the Hidden Cause
A connection may look tight while still leaking because the threads are damaged.
Cross-threading, excessive tightening, impact damage, corrosion, or repeated assembly can deform threaded surfaces. Even when the components appear connected, they may no longer form a reliable pressure-resistant joint.
Inspect for:
- Flattened thread peaks
- Cross-threading
- Cracks
- Corrosion
- Missing threads
- Uneven engagement
- Excessive looseness
Never force a connection that does not align naturally. Damaged threads may require replacement of the affected component.
Where a manufacturer’s design calls for a specific seal, washer, O-ring, or approved thread-sealing method, use that method rather than improvising.
A Simple Grease Gun Leak Diagnostic Procedure
If you’re still asking Why Does My Grease Gun Leak, use a systematic process rather than replacing parts at random.
Step 1: Clean the Tool
Remove old grease so that fresh leakage can be identified accurately.
Step 2: Inspect the Barrel
Look for cracks, dents, deformation, and excessive grease around the rear follower area.
Step 3: Examine the Head
Check the connection between the pump head and barrel. Look for loose threads or damaged sealing surfaces.
Step 4: Inspect the Hose
Run your fingers and eyes along the hose. Never ignore small cracks, bulges, or abrasion.
Step 5: Examine the Coupler
Check whether the coupler grips the grease fitting securely and whether grease escapes around the jaws.
Step 6: Check the Grease
Look for abnormal separation, contamination, hardening, or a lubricant grade that does not match the equipment requirements.
Step 7: Test for an Air Lock
Follow the model-specific priming procedure and determine whether pumping becomes consistent afterward.
Step 8: Check the Grease Fitting
If the gun performs normally away from the machine but struggles when attached, investigate the fitting for blockage or damage.
This approach prevents unnecessary replacement of otherwise usable components.
Common Leak Symptoms and Their Likely Causes
| Leak Symptom | Possible Cause | Recommended Action |
|---|---|---|
| Grease around plunger rod | Damaged follower or seal | Inspect and replace damaged component |
| Grease between head and barrel | Loose connection or damaged seal | Inspect threads and sealing surfaces |
| Grease around hose end | Loose or damaged connection | Inspect and tighten or replace |
| Grease around coupler jaws | Worn coupler or fitting | Inspect both components |
| Grease escaping through hose | Cracked or damaged hose | Replace hose |
| Grease leaks only under heavy pressure | Blockage or weak seal | Inspect downstream fitting and seals |
| Weak output with rear leakage | Follower/plunger problem | Inspect internal sealing components |
| Intermittent output | Air lock or check-valve issue | Prime and inspect valve |
| Difficult pumping in cold weather | Grease too stiff | Verify lubricant suitability |
The symptom should be treated as a starting point rather than definitive proof of a particular failed part.
How to Fix a Leaking Grease Gun Safely
Once the source has been identified, choose the repair that matches the failure.
For a loose connection, carefully tighten it using the correct tools. For a damaged hose, replace the hose rather than attempting a temporary patch. For a worn coupler, replacement is generally straightforward.
If the rear follower or internal seal is damaged, obtain the correct replacement part for the model. Do not install an incorrectly sized O-ring simply because it appears similar.
Before servicing the tool:
- Stop pumping.
- Relieve pressure safely.
- Disconnect the gun from the lubrication point.
- Wear appropriate eye and hand protection.
- Keep the work area clean.
- Follow the manufacturer’s service instructions.
A grease gun can generate substantial pressure. Safety guidance from equipment manuals recommends inspecting for leaks and damaged components and correcting problems before continued use.
When Should You Replace the Grease Gun?
Repair is not always the most economical option.
Consider replacing the entire grease gun when:
- The barrel is cracked.
- Major threads are damaged.
- The pump head is severely worn.
- Replacement seals are unavailable.
- Multiple components have failed.
- The tool repeatedly loses pressure after repair.
- A high-pressure hose is compromised and compatible replacements cannot be obtained.
- The cost of repair approaches the price of a new, suitable tool.
For inexpensive grease guns, replacement may make more sense than rebuilding the entire mechanism. For professional equipment, however, a manufacturer-approved repair kit may extend service life considerably.
Preventing Future Grease Gun Leaks
Preventive maintenance can reduce many common leakage problems.
Keep the Gun Clean
Wipe away excess grease after use. Dirt mixed with lubricant can migrate into fittings, valves, and couplers.
Inspect Before Every Use
Look for cracks, loose connections, damaged hoses, and abnormal grease buildup.
Use Compatible Grease
Select grease according to the machinery and tool manufacturer’s requirements. Avoid mixing incompatible lubricants unless compatibility has been confirmed.
Avoid Excessive Force
If the gun suddenly becomes extremely difficult to operate, investigate the cause instead of simply pumping harder.
Store It Correctly
Keep the tool in a clean, dry location and protect it from unnecessary heat, cold, and contamination.
Replace Worn Accessories
A worn coupler or damaged hose can undermine the performance of an otherwise healthy grease gun.
Regular inspection is consistent with manufacturer maintenance recommendations, which emphasize checking for damaged components and leaking connections before operation.
Can You Prevent Grease From Leaking During Storage?
Yes, good storage practices can reduce the likelihood of leakage.
After lubrication work is complete, clean the exterior and avoid leaving the tool unnecessarily pressurized. Store it in a suitable environment according to the manufacturer’s instructions.
If the grease gun uses a cartridge, make sure it is properly installed and that the follower is positioned correctly. For bulk-loaded guns, keep contaminants away from the barrel during filling.
Do not store a damaged grease gun simply because it is not currently leaking. A compromised seal or hose can deteriorate further between uses.
Frequently Asked Questions
Why does my grease gun leak from the back?
The most likely possibilities include a damaged follower, worn plunger seal, or grease that is too thin for the application. Inspect the rear sealing area and consult the tool’s parts information before replacing components.
Why does grease leak around the coupler?
A worn coupler, damaged grease fitting, poor engagement, or excessive pressure can cause grease to escape around the connection. Inspect both the coupler and the fitting rather than assuming the gun itself is defective.
Can an air lock cause a grease gun to leak?
An air lock more commonly causes poor or inconsistent grease delivery, but abnormal pressure behavior can accompany it. Follow the manufacturer’s priming procedure to remove trapped air.
Should I use thicker grease to stop a leak?
Not automatically. The lubricant must match the machinery and grease gun specifications. A thicker product may change pumping characteristics and may be inappropriate for the application.
Is a leaking grease gun safe to use?
A leaking tool should be inspected before continued use, particularly if grease escapes from a high-pressure hose, damaged component, or structural crack. Manufacturer guidance recommends correcting abnormal or leaking conditions before operation.
How do I know whether the grease gun or machine is causing the problem?
Disconnect the gun from the lubrication point and inspect its operation according to the manufacturer’s procedure. If the gun operates normally but encounters extreme resistance at one machine fitting, investigate that fitting and the lubrication passage.
Can I repair a grease gun myself?
Some basic repairs, such as replacing an external hose or coupler, may be straightforward. Internal repairs depend on the model. Always follow the manufacturer’s service instructions and use compatible replacement parts.
Conclusion
Understanding Why Does My Grease Gun Leak begins with identifying the precise location and conditions of the leak. A damaged follower, worn seal, loose connection, cracked hose, defective coupler, blocked fitting, unsuitable grease, trapped air, or internal valve problem can all contribute to poor grease containment or pressure loss.
Instead of immediately replacing the entire tool, inspect the grease gun systematically. Clean it, locate the fresh grease, examine the relevant component, and compare the symptoms with the manufacturer’s troubleshooting information. Simple issues such as loose connections or worn couplers may be easy to correct, while damaged internal components or structural cracks may justify professional servicing or replacement.
Most importantly, treat leakage as a maintenance signal rather than simply a nuisance. Regular inspection, correct grease selection, proper loading, careful storage, and timely replacement of worn components can help keep a grease gun reliable and ready for demanding lubrication work.